4 Top Tips for Website Images
Images make or break a website. This is something we say A LOT! You can have the best written copy on your website, it can be beautiful laid out and flow nicely but if your images look dull, unprofessional and are slow to load you are likely to put your website visitor off before they even get to reading that content and looking around your website. So here are our top tips for getting your website images right.
1. Get professional photos taken.
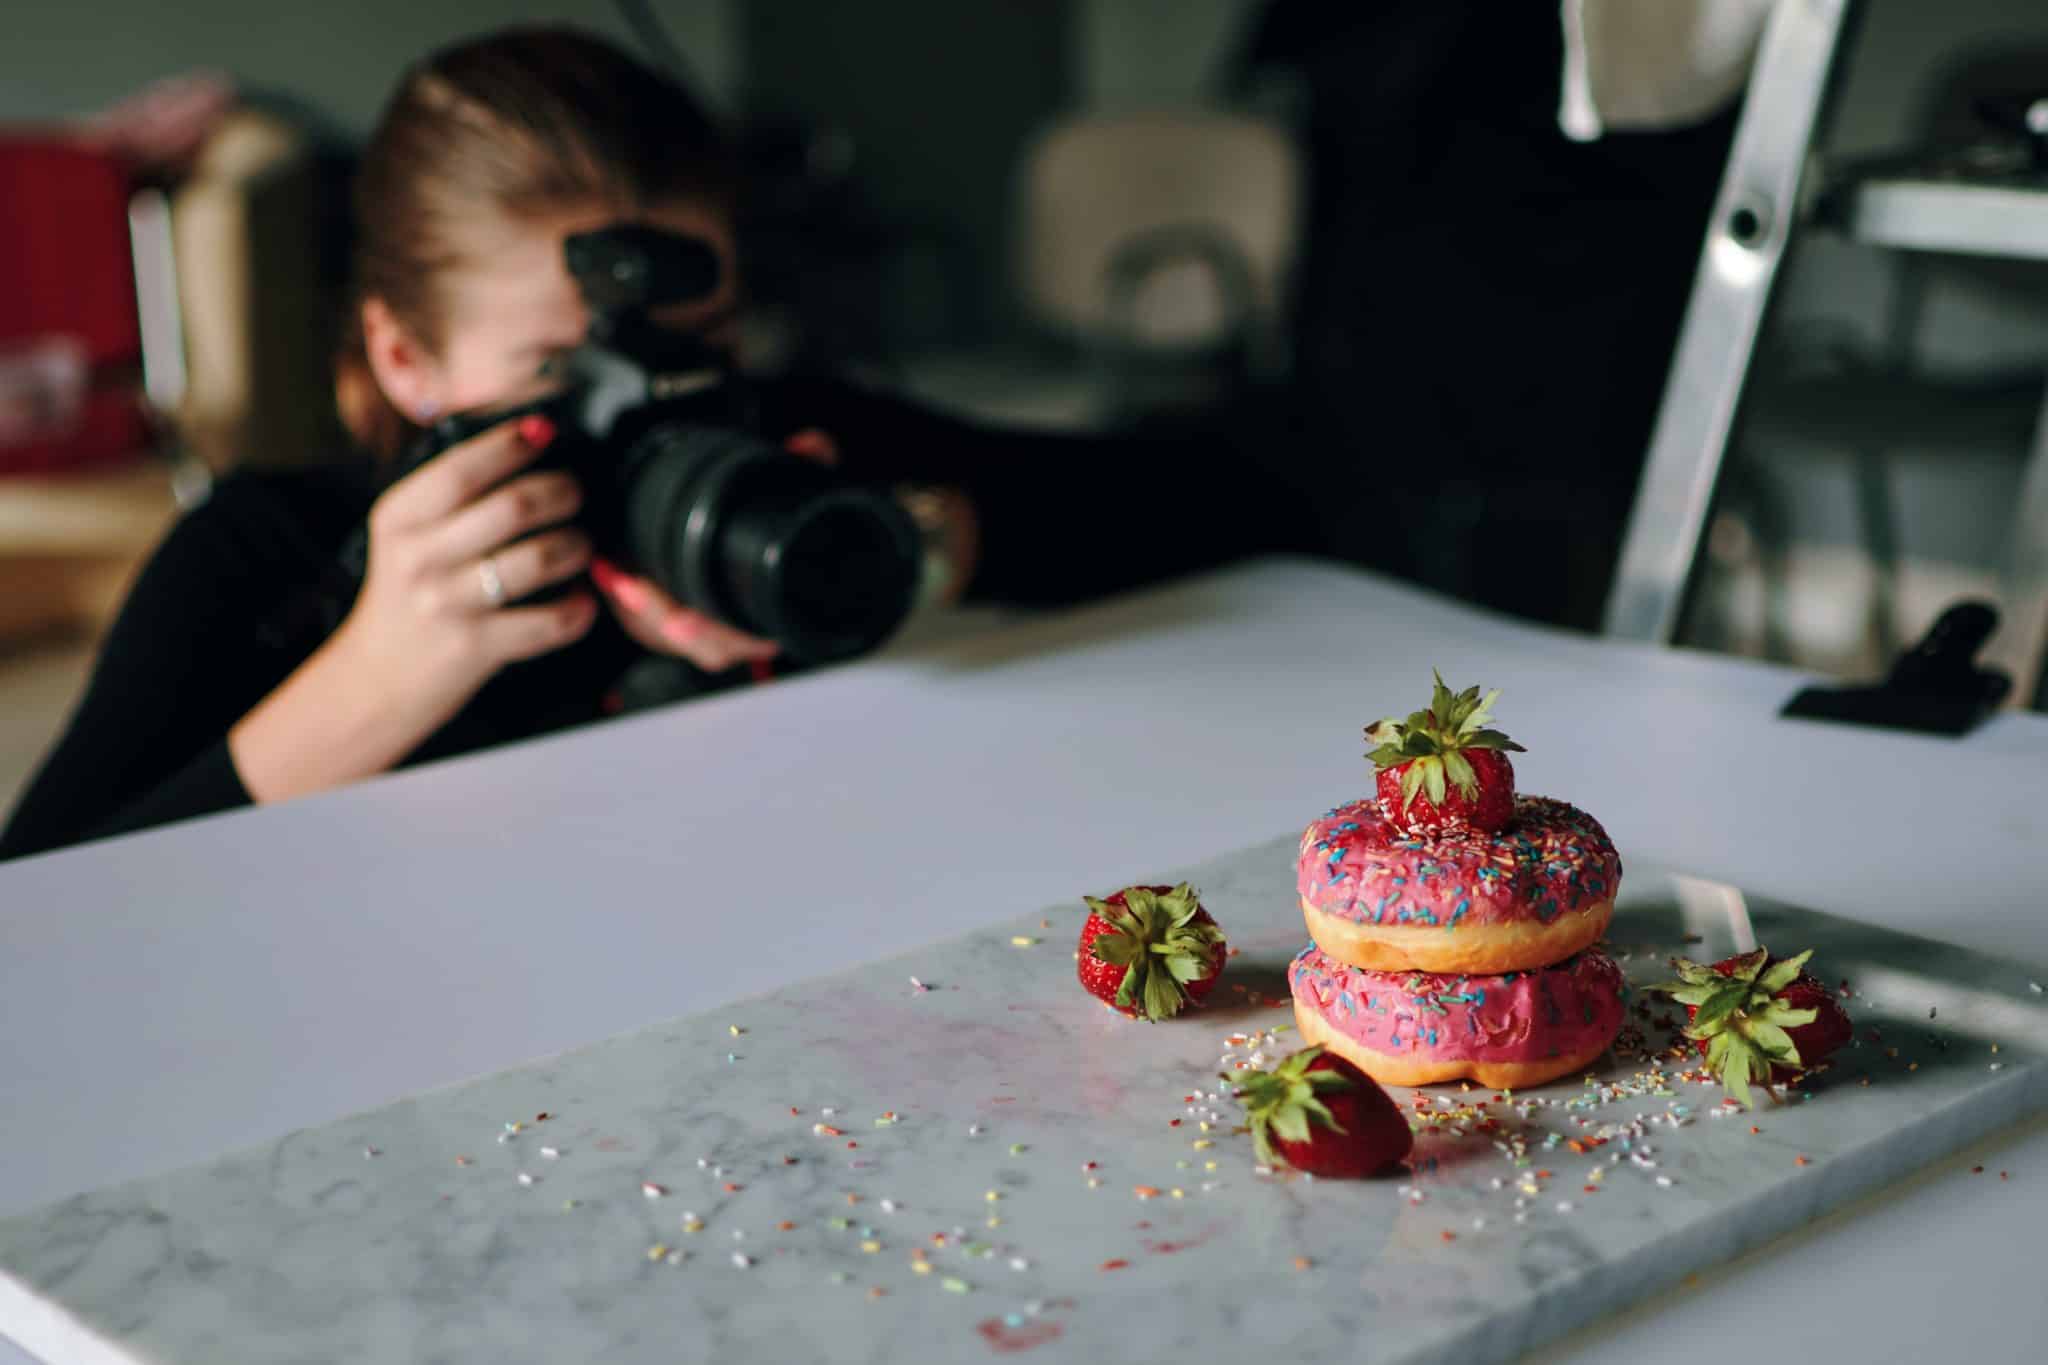
If you have the budget and we recommend you create some budget for this, use professional photography on your website that is unique to you. Whether you need photos of yourself and your team to convey your brand or whether you have some amazing products you need to showcase, professional photography will always be best for doing this. Not only will the photos be high quality and engaging but a professional photographer will ensure they work on your website and probably think of ideas to make your website visually amazing that you wouldn’t have even thought of.
2. Update your photos regularly and add alt text
Updating your photos is a really easy way to show your returning website visitors that you are actively working in your business. Also, if there are photos of you and your team on your website, they need to look like you so that you are providing a consistent brand experience from being seen in person, on social media and on your website.
Also, another thing we are always saying is, changing content on your website regularly reminds Google you’re there so adding and changing photos helps with SEO too. Make sure you add alt text to your images that is relevant so that Google and text readers know what the photos are of.
3. Make sure your website images are engaging and truly reflect your business
Photos and images on a website really do set the tone and feel of the site so they need to feel right and draw the right people in. I recently went to a website of a solicitor that specialises in family law to do a website review for them. I was surprised by what I saw when I hit the homepage of the website because I felt like I was on a travel agent’s website. The hero image (full width image at the tip of the page) was of a beautiful beach with clear blue sea and palm trees.
I think they were trying to convey that working with them would be a positive experience but perhaps a photo of them chatting with a smiling family would have hit the mark better.
4. Ensure your website images load quickly
Uploading a photo to your website that is too large will affect your page loading speed and the whole user experience for your website visitors. If you are unsure whether your website images are the right size you can use a website like gtmetrix.com to see how well your website is performing and it will give you some guidance on what needs improving if it could be faster. If the size of your images is an issue you can run them through tinypng.com before you upload them to your website to reduce the size.
Some other useful blog posts
If you really don’t feel you have the budget for getting professional images taken at the moment, but you know you need to get better at taking product shots yourself, then this guest post that Crissi Palmer wrote for us a little while ago will give you some great tips.
Also, if you are unsure about what having professional images taken would include then this guest post from Natasha Jay is a great guide.
For more useful website tips, check out our free resources and The Website Handbook.
Photo by Szabo Viktor on Unsplash

